![]()
![]()
![]()
![]()
![]()
![]()
![]()
z.scale.hobo's Archistories Tips & Information Page:
Assembly Tips
WORK IN PEACE![]()
Profile of Archistories
ARCHISTORIES:
Advice to achieve a perfect architectural model
The assembly of a laser-cut kit may initially be unfamiliar to you, but if you heed some tricks, you get used to it quickly and can attain excellent results, which compared to conventional model products have a variety of advantages. Below we give you some valuable hints for building ARCHISTORIES
Artistic kits, a list compiled to help you to create a stable and durable and beautiful model and avoid common mistakes that could affect the result.
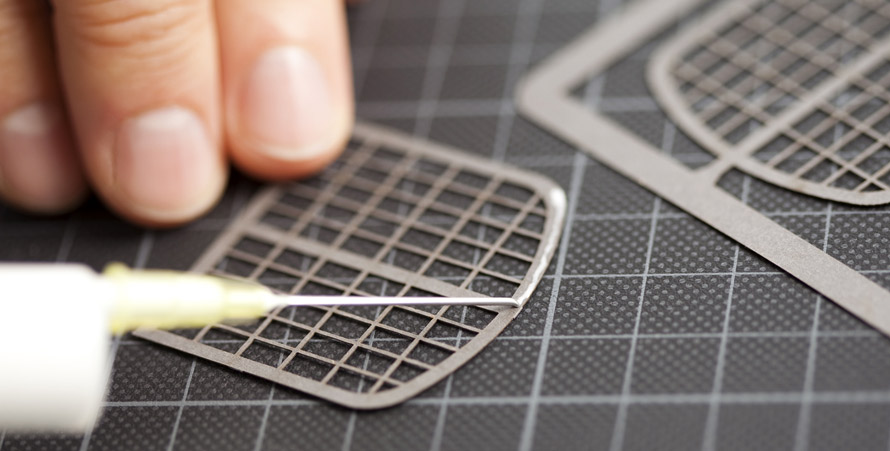
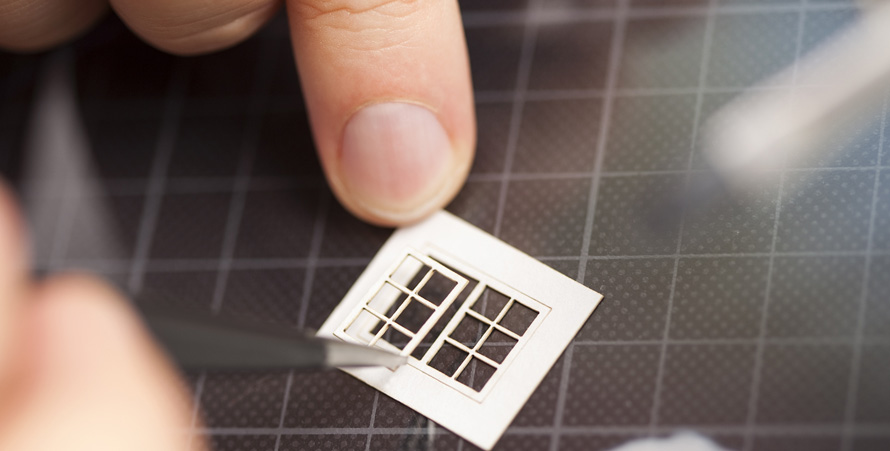
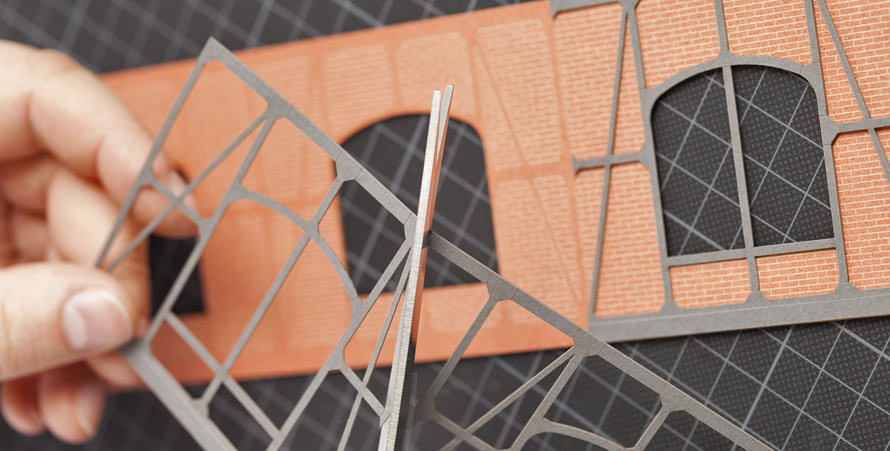
Take your time and be patient. This is especially true for the small scale and the fragmented nature of some related components. A set of high quality tweezers is essential to grasp extremely filigree small parts such as window frames, etc., and can be provided with adhesive.
Observe the Specified Sequence
Make sure to observe the order specified in the instructions. This is structurally necessary and prevents damage and incorrect handling, which could affect the result.
Our kits are designed so that even during installation the highest possible stability is attained. This enables the firm pressing of the components and a simple, handy handling of the workpiece.
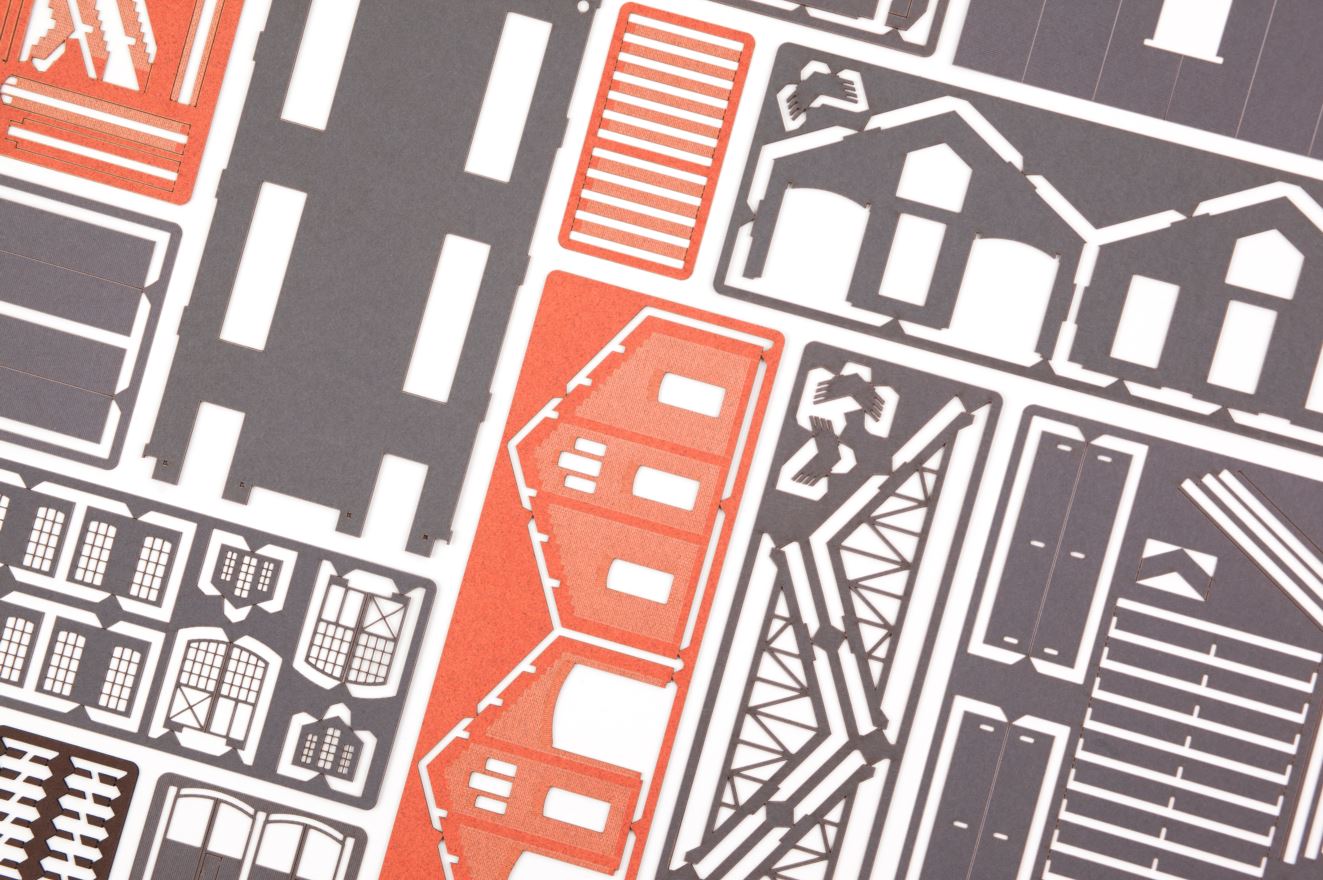
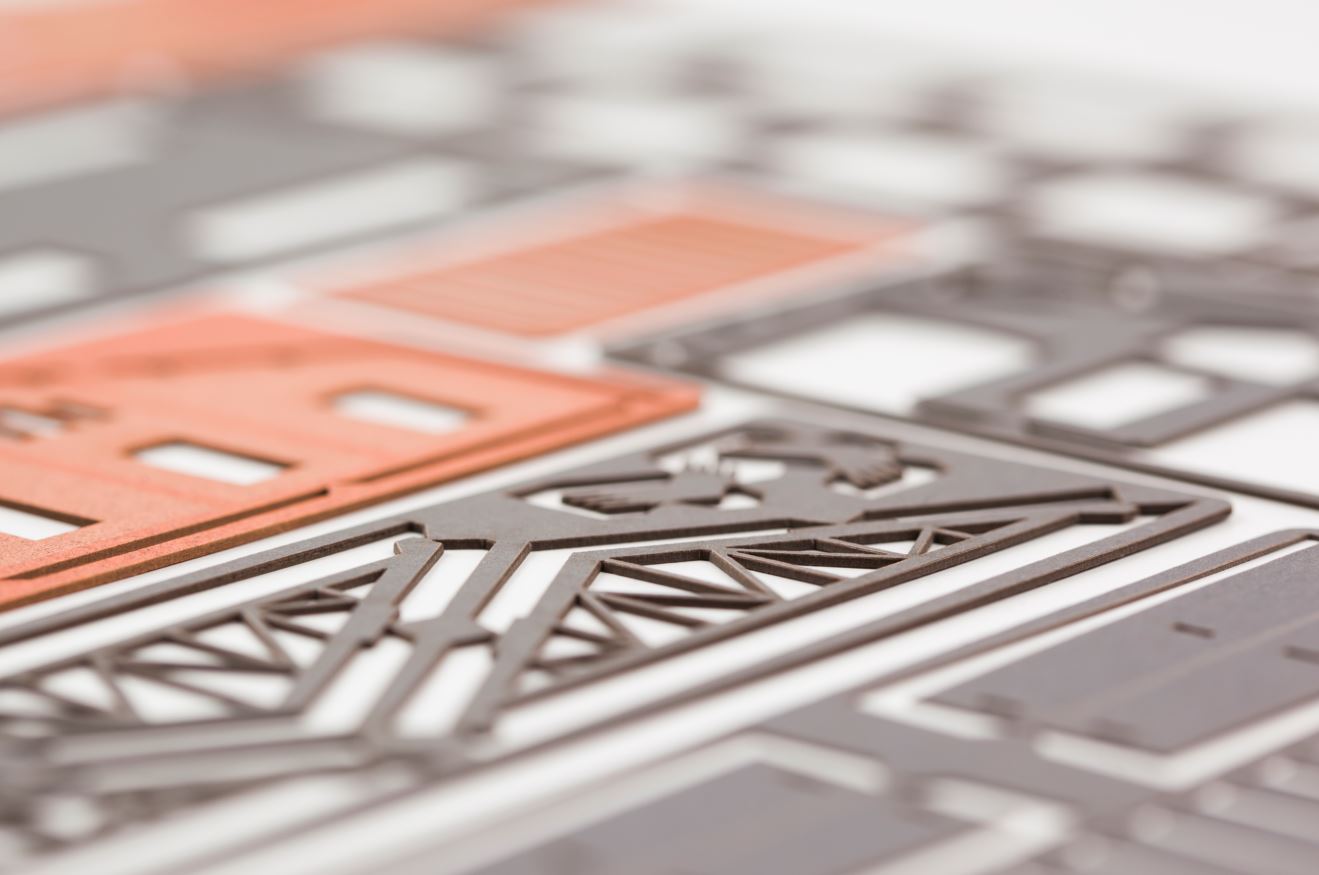
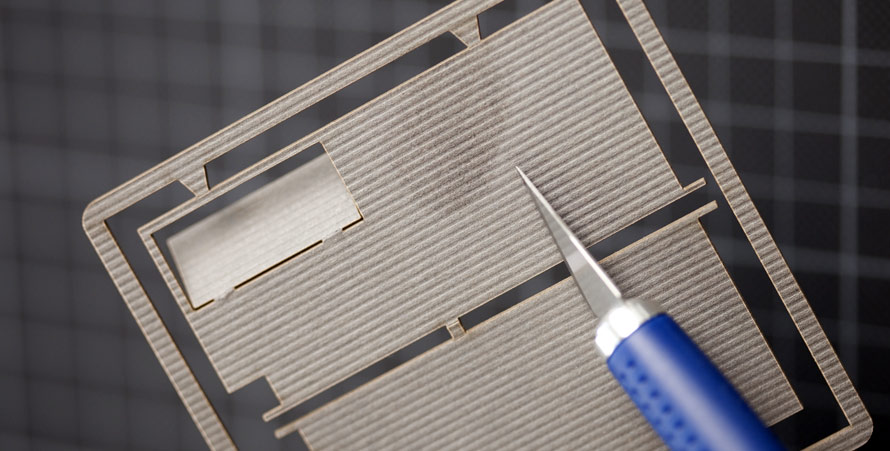
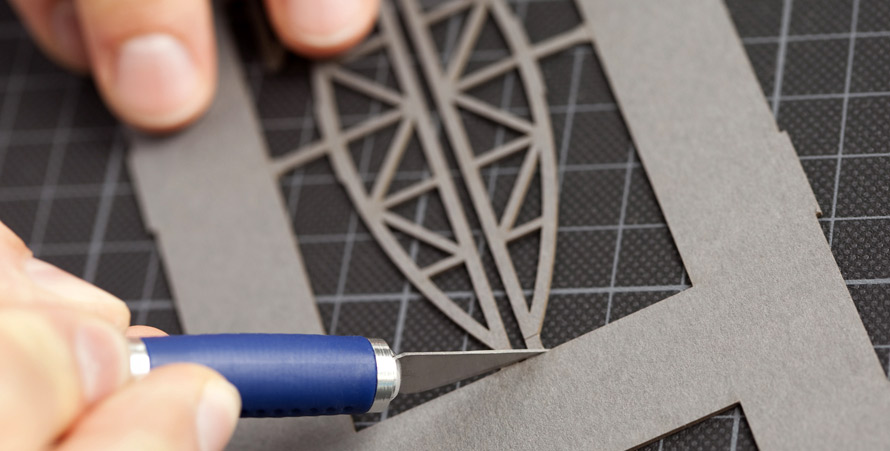
Separate the components from the parts tree with a sharp blade shortly before assembly to avoid confusion or losing the smallest parts. Cutting too man y parts in advance will lead to confusion and lost parts. Some components may appear to be similar, but are still slightly different. Annoying confusion can be avoided by following this advice.
Avoid Staining the Parts
Please pay attention before working to employ, oil/grease-free, clean hands and clean tools to avoid stains on the material, since these are difficult to remove from the parts surface once contaminated.
Use Appropriate MILD Adhesives
Please use only normal water-based wood glue (unless otherwise stated in the instructions). This leads to the best results and invisible bonds. Very effective is the application with disposable syringes and blunt cannulas, which are available at any pharmacy. This allows very fine traces of glue to be applied to the hard to reach locations. The use of quick-setting glues can be detrimental for subsequent correction of components and is advised only after some experience with the laser kits. We therefore recommend the use of standard varieties of Ponal, UHU Holzleim, etc.
The viscosity of the wood glue requires increasing the pressure on the plunger of the syringe. This way the adhesive can also be metered readily without monitoring. In places, it may also be useful to dilute the recommended wood glue with water and then carefully apply with a soft brush. Please note the handling of syringes and needles keep out of the reach of children!
Stabilizing Joints
Apply glue in at all seams - on all contact surfaces. In addition, it is advisable to uniformly apply glue to wall elements in the interior areas with a disposable syringe, as it is known about the processing of tiles with silicone - basically like caulking gaps at the seams. This increases the stability of the finished model considerably, and possibly seals the small gaps. In addition, you can apply the adhesive effectively and permanently in this manner (syringe application like a caulking gun).
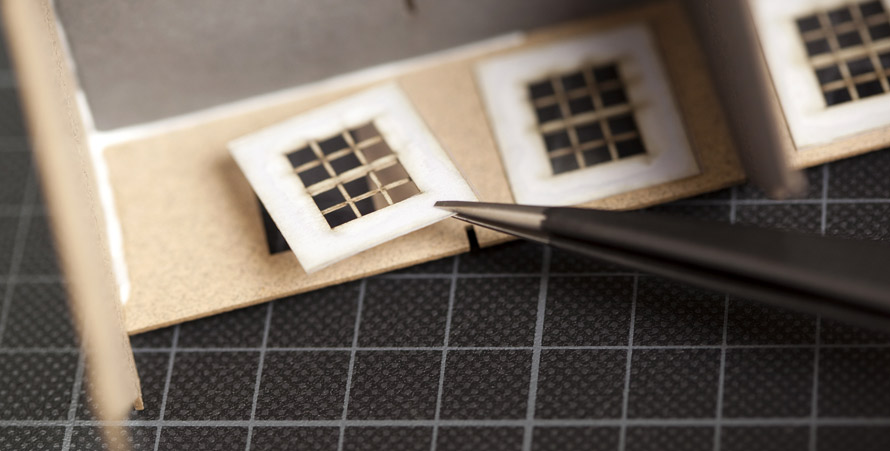
Properly Processing the Glazed Window Film
Use adhesives sparingly and attach windows from the inside-out to prevent adhesive leakage to transparent components. For the processing of our accompanying window film we recommend using UHU Kraft since this adhesive excellently adheres to the film and saves the hassle of sanding. This adhesive also can be awarded applied with a disposable syringe. A controlled dosage and finest traces of glue allow glazing without adhesive residue.
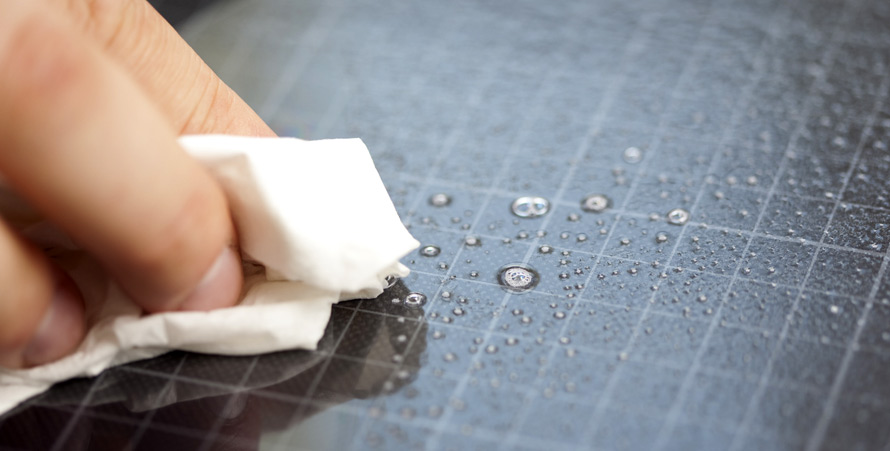
Please use economically a complete window glaze ensuring the accompanying transparency. Before the use of the film, it is advisable to wipe them off with a paper towel and window cleaner. This is beneficial to the static charge and prevent future dust accumulation.
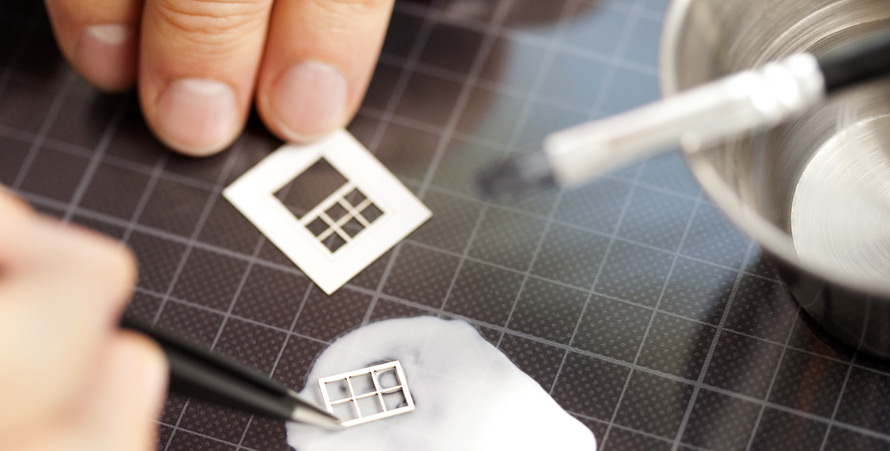
Mounting Tiny Parts
We strongly recommend to stick particularly smaller and finer components to give a drop of glue on a wipeable pad, these to be diluted with a little water, easy to immerse the parts with tweezers and immediately to fix in place.
Some very delicate components can only in this way be properly attached. Direct application of glue on very fine parts causes unsightly contrasts and traces of adhesive on cardboard and glass film.
Establish a Clean Base Structure
Particularly when processing the base structure it is essential to pay attention to absolutely flush gearing of the parts. You can do this by the mutual pressing and joining work on a smooth work surface. In this case forced out adhesive must be completely removed in order to obtain a flat surface, which in turn forms the base for the top assembly. However, this can only be done on a clean support structure.
Movable Doors (where applicable)
Always glaze the doors separately from t he building. Once assembled then they can be carefully applied to the building and posed ... this allows a custom depiction of scenes and spruces up the overall look of the model system.
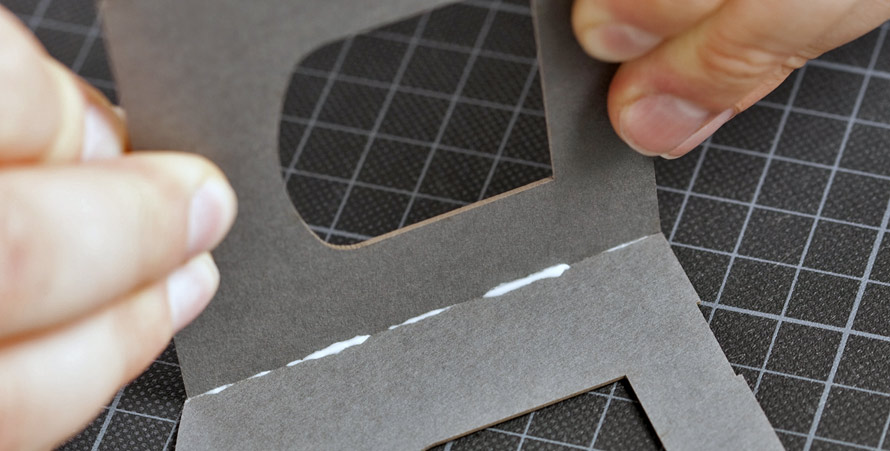
Gluing Larger Areas
When sticking large-area components please note, only sparingly provide the piece with wood glue, main focus particularly in all the border areas where they attach to other sections and at window openings. If you apply a full bleed of glue to a large wall, pieces tend to become distorted, making it difficult to use. We recommend to fix larger wall elements via work clamps (small clothespins work well here and can be found at many Dollar Stores).
Make sure that if these clamps are left on a visible surface of the model no strong impressions are observed. For this purpose, a piece of cardboard can be placed in between work and clamp.
Eliminate Laser Residue
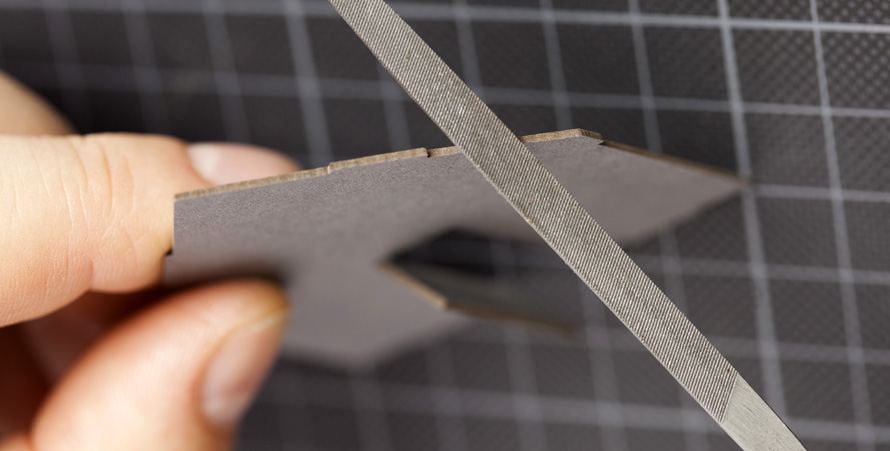
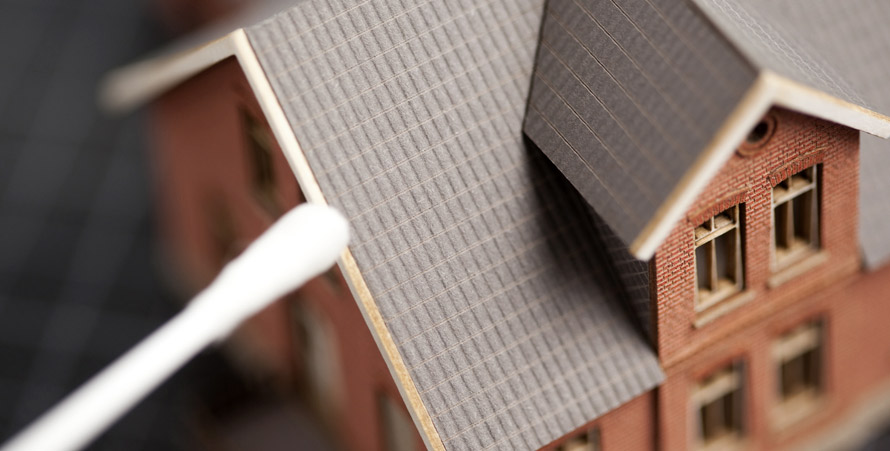
During the production process, production conditions with the laser can lead to remnants of material on the surface of the parts. This can be especially noticeable on lightly-colored components. You can simply wipe these deposits clean with a slightly water-moistened cotton swab upon completion of a model. Also, visible remains (burrs) of the sprue where the parts attach can be removed with a fine file.
Optional Supplemental Drain Pipes
Any existing, construction-related seams at building corners are designed so that they can be easily covered with rain downspouts. Matching profiles from polystyrene or brass are our kits with or are optional in model-commercially available (eg. As aero-naut).
Weathering
After completion of the kits you can give them a weathered/aged appearance with patina diluted colors and dust. Also, a color treatment amending surfaces is possible.
List of Items Needed for Assembly
- - Use commercially available white glue for all components made of cardboard
- UHU Kraft (only for glazing)
- at least one high-quality, fine tweezers
- two disposable syringes with blunted needles
- sharp knife to clean separating out the components
- fine file (eg nail file. ) for the aftertreatment components
- Fine and sharp scissors
- hair and bristle brushes of various sizes
Assembly Photo Gallery:

Safety Instructions:
Attention! ARCHISTORIES artistry kits contain many small and possibly sharp-edged parts. For installation you need sharp tools such as a scalpel, cutter, scissors, and glue. Please note that this product and its packaging has no place in the hands of children and keep it as well as tools used for the assembly out of the reach of children. Small parts can be swallowed or inhaled.
The finished products are intended as showpieces for permanent installation in a model system, and not a toy.
INTERIOR LIGHTING WARNING:
For legal reasons Archistories also points out that the installation of electric lighting is done at your own risk and should only be performed by trained personnel! It is particularly necessary to ensure that no illumination with high heat radiation is used and the connections are made correctly. Avoid the generation of heat buildup inside and on the models!
Since our products are made of combustible material and some kits include interior layouts to be noted that this can heat up faster due to the low volume than conventional models. Do not leave illumination bulbs unattended and check regularly the functioning of the electrical installations.
When using adhesives, paints and solvents, please follow the manufacturer's processing instructions and do not drink or smoke. Keep open flames away from and do not allow these items to contact skin, eyes or mouth, not inhale vapors and thoroughly clean your hands and tools after work.
First aid for eye contact:
Flush eye immediately under running water, keeping eyes open and contact your physician immediately!
(C) z.scale.hobo all rights reserved.
If you have any questions or comments, please write a message: